Once you get to the point of having a bunch of lyrics written and embedded as it were, it can be hard to move on. Maybe you’ve performed a few of your words over instrumentals you’ve found online and possibly even recorded a few bits on your phone, which is great but where do we go with what we’ve got so far?
There are a few things to consider for your next steps; ultimately, it comes down to how confident you feel with what you’ve written but the more you do, the more your confidence will grow.
Collaborative working and networking
Maybe you have a tone or feel for what you’ve written, an idea for how you want your overall sound to be. A good way of exploring this is to listen to similar music in the style you think best suits you. You can do this online or with music you already have but again, remember to take bits of inspiration from these and never take blatant parts of them. Build your own style and never bite on someone else’s.
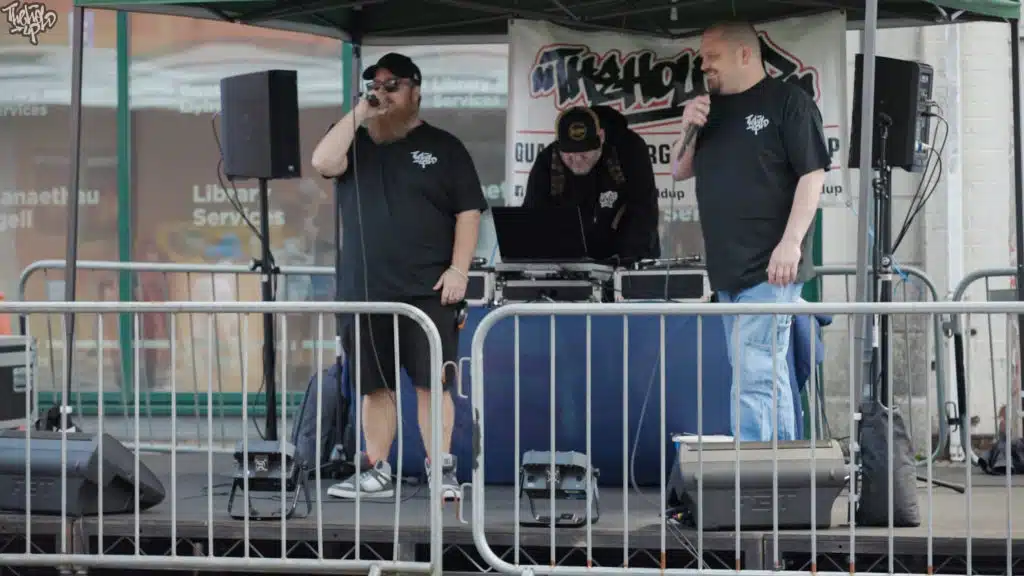
The best way of getting a feel for what you want to do, I believe, is to see it being done, so speak to and interact with the people who are doing it. Reaching local shows or events, joining Hip-Hop/music forums and groups online and connecting with other people doing the same as you is a good way of going about this. Networking with other lyricists, musicians, and creative minds can put you on the radar of producers, beatmakers, studios, and promoters and can be an opportunity for collaborative work. Having someone to write with or take inspiration from can be a great way to get that urge to write, as competitiveness is a big part of Hip-Hop culture. You should always want to ‘out-write’ other M.C.’s; this works both ways, as every other lyricist is trying to ‘out-write’ you. A bit of back and forth is great, ‘Show and Prove’ but always have respect for the person you write with, especially when working on a track together. You want to be better than them but you should still want them to be at their best. This will ensure the track is something to be proud of for all involved and that definitely carries forward to the people listening to it. Networking in any form will help you improve on what you have and grow as an artist. People often assume that there aren’t any other ‘like minds’ in their local areas or that there is no one else with the same musical tastes as them, but that will always be the case if you don’t go and look for it. Plus,’support your local’ because ultimately it’s them that will be putting you on or helping you up!
Finding beats
Do you have an idea of what sound or style you want to go with? Perhaps you have a few in mind (definitely try as many as you can to stay versatile and find the style you enjoy the most). Either way beats to write to is what you’re looking for. Be careful when shopping around for some; check with people who have bought from or worked with producers you find. Do some background checks; this is important. Online forums and music groups are good places to inquire about anyone you choose to work with, but also check if they have websites for reviews and try listening to other things they’ve done. Make sure to look into all of these when choosing so that it’s always a well-informed one.
Be wary of production and promotion scams. You should always check with other people about the legitimacy of offers online (that goes for pretty much everything when it comes to online offers)
Beware of using ‘Copyright Free’ beats. They can and probably will be used by many other lyricists. Your goal should be to stand out and not blend in.
Writing your own beats
There are some great music programmes available online for free and a lot of music software operates in a similar way. Most of the time, it’s just about what you feel comfortable with visually, as this will affect the program’s accessibility from your point of view.
If you wish to buy some software, some common ones used are Abelton, Reason and Cubase. Know that music software can be pricey; shop around for deals but make sure to purchase your software from reputable sources.
Remember that regardless of which programme you use, short of taking lessons on how to use it, there are always ‘how to’ videos online and these are handy for when you’re starting out or even when you’re in full flow and get stuck.
A good introduction to music software that is a go-to for The Hold Up’s beat-making workshops and projects, is the online cloud platform Bandlab. It’s free and acts like Facebook but is based on a music program. It’s easy to pick up too and, as well as PC use, it comes as an app for your phone so you can write beats on the go! You can also record vocals into it so it’s a good way to fully demo your tracks.
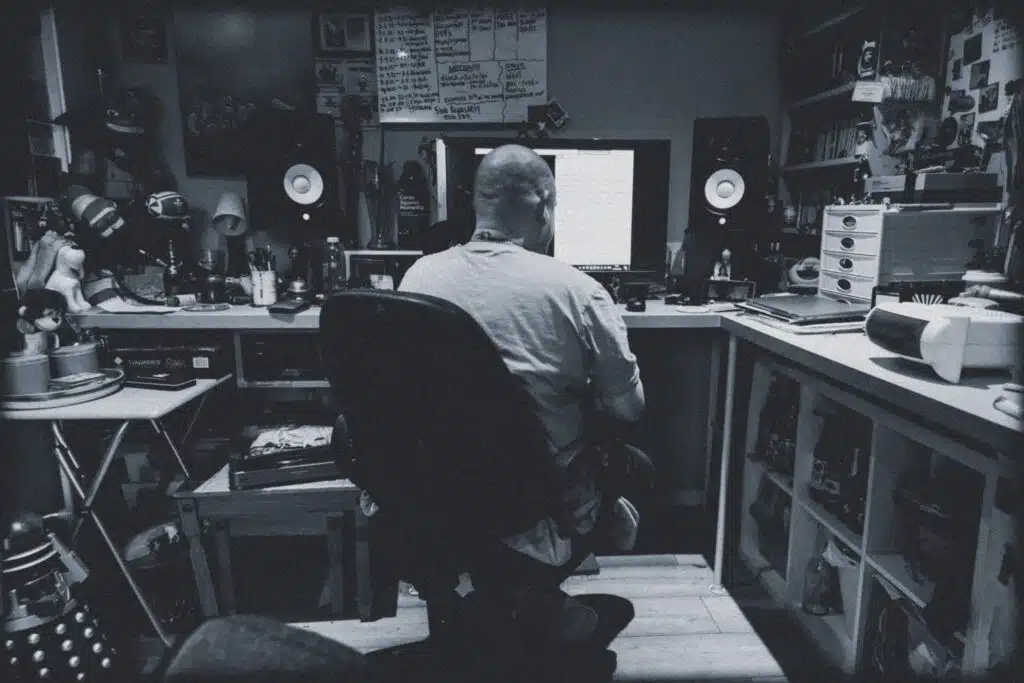
Basic Studio setup
Whether you decide to go with making your own beats or not, a place to get your words down and practice is important. Building yourself a studio can be a fairly simple thing to do. All that is needed is a space to work, a laptop (Mac or PC), music writing software (again, lots of free stuff online if you’re not looking to buy), an audio interface, some speakers/monitors, a microphone, and a pair of headphones.
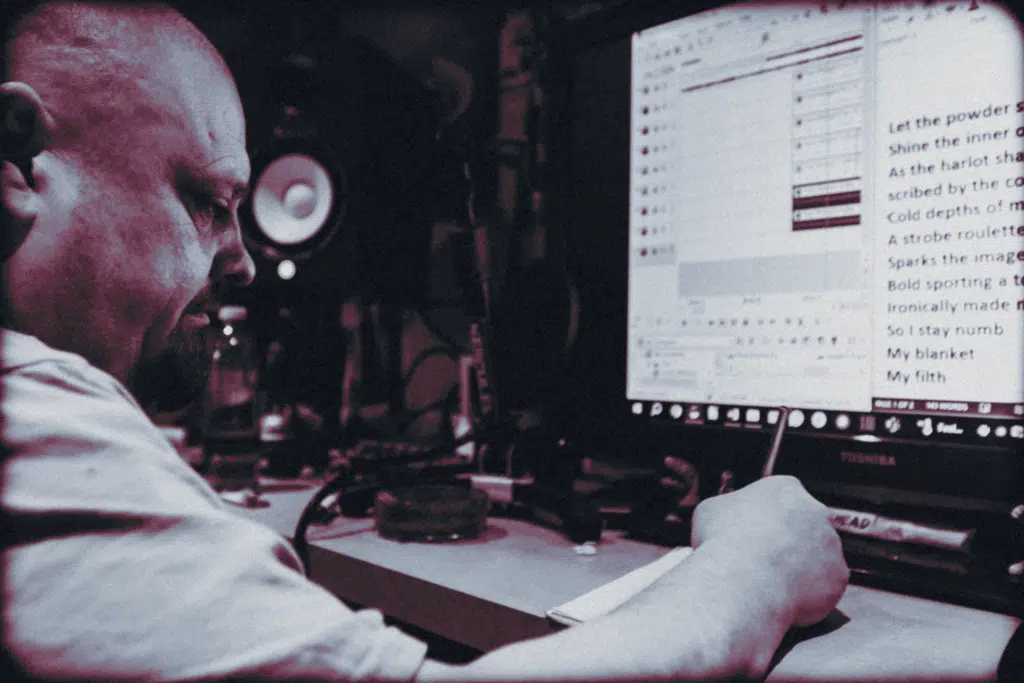
The set-up I started with was an old laptop which I linked up to my stereo with a stereo RCA cable and a free demo of Sony Acid Xpress for making or playing my beats. I used a USB mic* from a music game I had, taping a bunch of dust rags over the top of it to act as a pop shield and then gaffer taped it to an old broken mic stand. I didn’t need an audio interface at this point, as the mic could plug straight into my laptop. Although this was very convenient, I would later realise that it had a huge negative impact on the sound quality of my vocals.
The plus side to using this setup for me was that I did get a lot of stuff down, even recording a DJ for one of my tracks. We set him up on an ironing board and plugged him into the stereo, then put the mic into the stereo speaker to record him. It may not have sounded the best but it got the job done. More so, though, I found this setup especially useful for getting things down so I could practice them. I could record them, put them on my phone and then I could go through them and listen to them on the go. This helped massively when reviewing bits I liked or didn’t like and with prepping for paid studio time, something we’ll look at further on down.
Though my early setup was a good starting point, I learned, as I did more, that I needed to spend a bit of money. Free stuff and a ‘brick-a-brack’ setup will only get you so far; you will get to the point where you have to invest in yourself. You will have to put money into what you want to do if you want to progress. An audio interface not only makes the process easier but it also helps with sound quality. A proper mic stand and XLR mic or condenser mic with XLR to Jack (preferably XLR to XLR) leads going through the interface, along with using a pop shield, will make a big difference in the quality of your recorded vocals. There are many decent audio interfaces currently on the market but I use a Focusrite, which is great! I’ve also used a Behringer interface and realised that most are very similar, if not the same in terms of use and both of these are popular.
*Before I had my USB mic, I used to record my vocals into my phone, then put them onto my desktop, convert them into MP3 and then drop them onto the beat. Although this was an intuitive way of getting my early stuff down (I’m aware phones have grown in quality and ability since the olden days), I wouldn’t recommend this at all unless you were purposefully looking for a very compressed and poor-quality-sounding vocal tone.
Recording
Where you place the microphone in the room is important for the quality of your vocals. Make sure to try to soften hard surfaces (e.g. ceilings and walls) as much as possible. For example, having your mic set up in the middle of a room with a high ceiling can add echo or reverb to your voice, so try and make sure to position it in the corner of a room, preferably a room with a lower ceiling. The less background interference, the better, as we can play with the sound of our vocals once recorded. If you are going to have your mic away from the corner, then maybe add a piece of foam at the back of your mic setup or get a reflection filter. This helps reduce the natural echo or reverb of the room in your vocal recording. If the room has a natural sound, you may want to keep it, but it’s unlikely if you’re just starting. These effects can be added to your vocals via your software.
Microphone technique is as important in the studio as it is live. If you’re being loud and aggressive, step away from your mic when recording, as you don’t want your voice to become distorted. That being said, avoid too much movement when recording. The distance you are from the mic will be picked up in the form of your words fading between loud and quiet throughout your piece. Both of these issues are another reason why I would not recommend using your phone to record. The fade between volumes can be less evident when using a condenser mic (depending on its quality), as these generally pick up everything. This is also a reason to make sure anyone else in the room with you shuts up when you’re recording, unless what you’re recording calls for that sort of background noise.
Studio time
If setting up your own studio is not something you wish to do, then look around for local studios in your area. There may even be a community studio close to you or a local practice room that has a recording studio available as well. Always ask people who have used the studios before what experiences they’ve had; check their websites or social media pages and see what people have to say. Studio time is expensive, so making sure to get value for your money is important. Don’t rush into anything.
As studio time is expensive, it’s also a good idea to make sure you know your tracks, you are well rehearsed, and have your beats ready. Studio time is generally hourly so you need to be ready to record as soon as you walk in through the door. To fail to prepare is to prepare to fail!
Also, be realistic with what you wish to record; there’s no point in planning on recording 12 tracks in an hour. If you have a lot of tracks ready, then maybe choose what you consider to be your best 3 or 4 and always approach recording them knowing that you may not get all of these down. It’s better to take more time on a few tracks to make sure they are a good representation of you and your style or sound than rush a load of them and not be happy with what you’ve done. Quality over quantity every time. There’s nothing worse than having to listen to something you’ve recorded that you know you could have done better on, especially if you’ve spent money on it. Listen to what the engineer or producers have to say; remember, they want to get a good sound too, if they want more work. It’s always wise to bear this in mind. Plus, annoying someone who ultimately has control of how you sound, not to mention owning or being at least in charge of the place you’re in, is not wise. Don’t put too much pressure on yourself, though; it’s fine to make mistakes and recording is fun because you’re finally seeing all the hard work you’ve put in coming together. Relax and enjoy yourself but remember you’re there to get stuff done; it’s easy to get carried away.
Mixing & mastering
Once you have a few things demoed, you should consider getting at least some of them mixed and mastered properly. For those not sure of what this is, it basically means elevating the sounds you’ve recorded from a raw recording to the more finished/polished product we’re used to listening to or buying. I’m lucky to have people around me who specialise in this because the process is a long, tedious and difficult one, and though I can do this at a very basic level, I still feel it’s worth passing this on to someone skilled at it, simply because I want my music to sound the best it can be.
Avoid programs that can ‘mix and master at the touch of a button’ too; nothing does it better than someone with experience doing it for you. It can be expensive but this process is what will set your sound apart from all other artists just starting. This also highlights, again, the importance of shopping around for someone to do this and the need for you to do some research on who you’re sending your tracks to. Make sure to be a part of the process as well; don’t settle for anything you get back if you’re not happy with it. Where possible, be in the room at least for the start of it and always give feedback. If you’re spending the money, then make sure to get your money’s worth, plus (and probably most importantly), this is your sound, so it needs to be as you want to hear it.
Summary
- Network with your local Hip-Hop/creative community
- Go to shows and events
- Learn from your peers
- Share what you know
- Write your own beats (and/or)
- Shop around when buying beats online
- Be wary of online scams
- Record your own tracks (and/or)
- Shop around for studio time
- Always go to the studio well-rehearsed and well prepped
- Listen to what the producers and engineers have to say
- Don’t rely on programmes to mix and master for you
- Shop around for your mixing and mastering needs